To ensure that the barcode is functional, each bar code is generated using the customer-supplied numeric code.
Since the barcodes are generated in the prepress section, a placeholder barcode should be correctly sized in the artwork.
The barcode must be positioned at least 3 mm from the neckline.
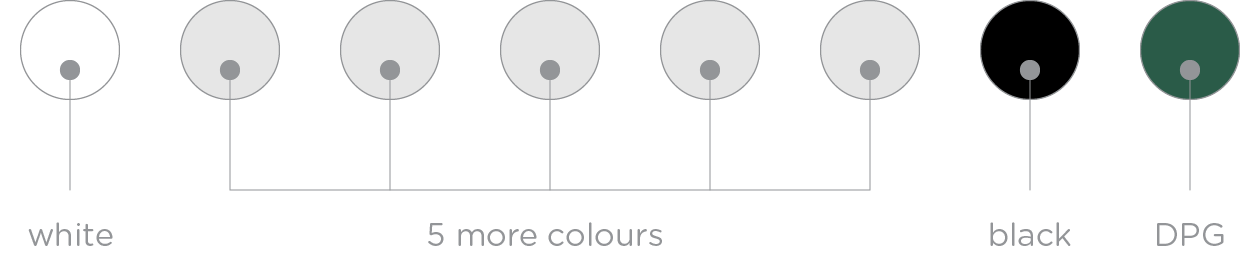
The important thing to remember when selecting colours for a barcode label is the contrast – that’s why the combination of a white background and black barcode is the most recommended colour combination.
Some other combinations are acceptable but must be discussed with your local Graphics Team as readability may be adversely affected.
Scanners read barcodes best when the background reflects light and the bars don’t reflect any.
Technical Data
Recommended magnification 100%
Minimum recommended magnification 90%
Overall dimension for box (including safety margin)
| EAN 8 | 17×25 mm |
| EAN 13 | 17×35 mm |
| UPC-A | 17×35 mm |
| UPC-E | 17×22 mm |
| barcode + DPG | 28×54 mm |
Minimum bar length is 13 mm.
We highly recommend black and white for our barcode to ensure successful readability when scanning.
Other colour combinations are available, these can be agreed with your graphics contact. We recommend dark coloured bars on a light background.
Please note, red-shade colours are not an option for bar colour as the barcodes are scanned using red light.
Things to Note
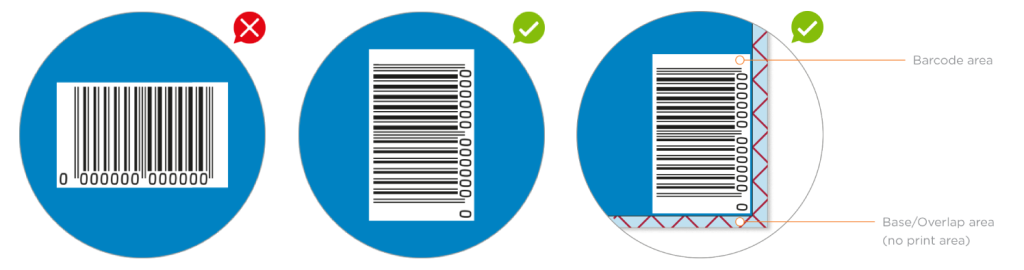
- Barcode bars must be horizontal for our printing process.
- Barcodes for our cans require a bar width reduction of 0.08 mm in the print files.
- Ardagh Metal Packaging can guarantee a 1.5 GS1 reading and above on all barcodes.
- The barcode must be positioned at least 3 mm from the bottom edge of the format and at least 3 mm from the neckline.
- It is possible to truncate the height of the EAN barcode length of bars to 13 mm.
DPG logo (German deposit system GmbH)
Against the background of the requirements of the Packaging Ordinance, Germany has had a far-reaching deposit obligation for beverage cans since January 2003.
Following the contract with DPG organisation, Ardagh Group is not allowed to deliver any cans to customers who do not have a contact with the DPG as well.
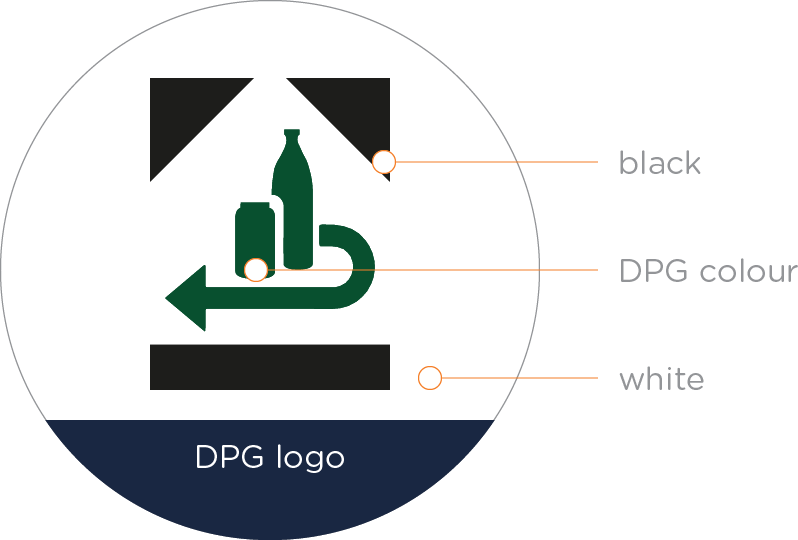
DPG ink instructions:
- The security elements of the DPG logo (can, bottle and arrow) are only allowed to be printed with the original DPG ink.
- Please make sure that you keep one inker for the DPG ink.
- The surrounding of the DPG marking has to be printed in an opaque white.
- The corner markings (triangles and rectangles) and the barcode barcode-elements must be printed in black.
Please note it is solely the responsibility of the customer to ensure artwork follows the DPG guidelines.
More information can be found at: https://dpg-pfandsystem.de
Deposit Return Scheme (DRS)
DRS is a system where consumers pay for additional cost (a deposit) when purchasing a can that will be reimbursed when the can is returned to a collection point after use.
The system is used as a financial incentive to ensure packaging is reused and recycled.
As this varies from country to country, customers should contact the countries Deposit Management Organisation (DMO) for more information.
Please note it is solely the responsibility of the customer to ensure artwork follows the guidelines of these schemes.